
Collect OpenWrt Metrics for Home Assistant
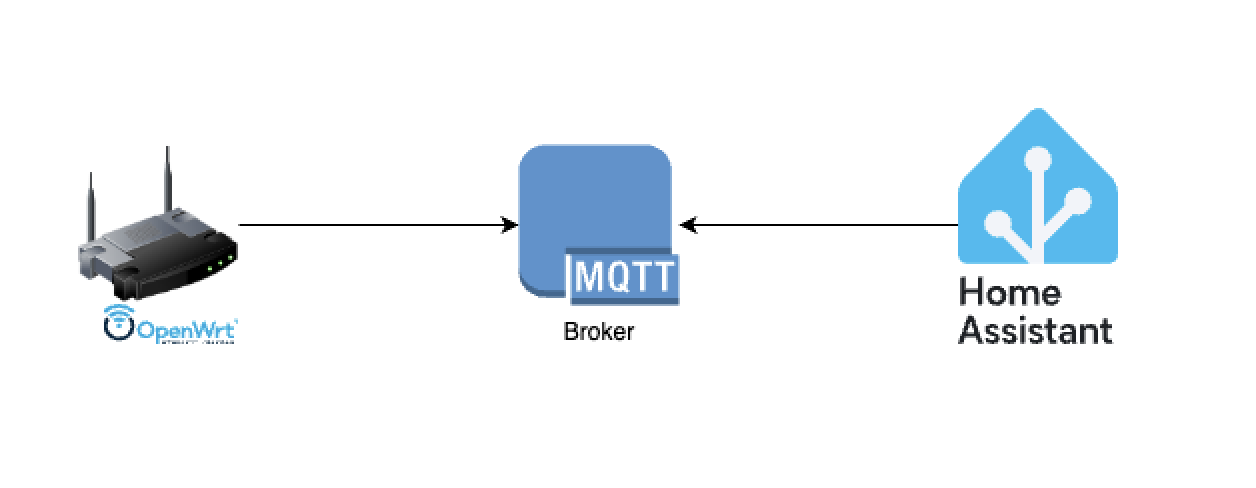
Home Assistant is a powerful platform for home automation, and integrating it with OpenWrt-based routers provides valuable network insights. This guide walks you through setting up a lightweight MQTT client on your OpenWrt router to send metrics like CPU usage, memory consumption, and network speed directly to Home Assistant.
We’ll use a small, Go-based MQTT client designed for OpenWrt devices to feed system stats to an MQTT broker, which Home Assistant then uses in real-time.
Background
The initial approach to collecting these metrics involved using SNMP with custom OIDs, with Home Assistant configured to pull the data. However, to shift to a push-based system, a decision was made to develop a custom, Go-based solution. This push method offers advantages over the pull method (like SNMP): reduced overhead on Home Assistant, real-time updates, simplified network configuration, improved scalability, and more reliable data delivery. Go was chosen for its efficiency, small binary size (final binary size is 4.8MB), and ease of cross-compilation, making it ideal for resource-constrained devices like OpenWRT routers. The source code for the MQTT client, named mqtt4openwrt, is available on GitHub.
Why This Matters
OpenWrt, an operating system that provides a lot of flexibility for wireless routers, is often critical infrastructure in a smart home. Monitoring their performance provides insights into:
- Bandwidth usage
- System resource load
- Troubleshooting degraded performance
- Home network visibility in Home Assistant dashboards
Project Overview
This project uses a lightweight Go application, specifically built for OpenWrt (MIPS architecture), to collect system-level metrics, including:
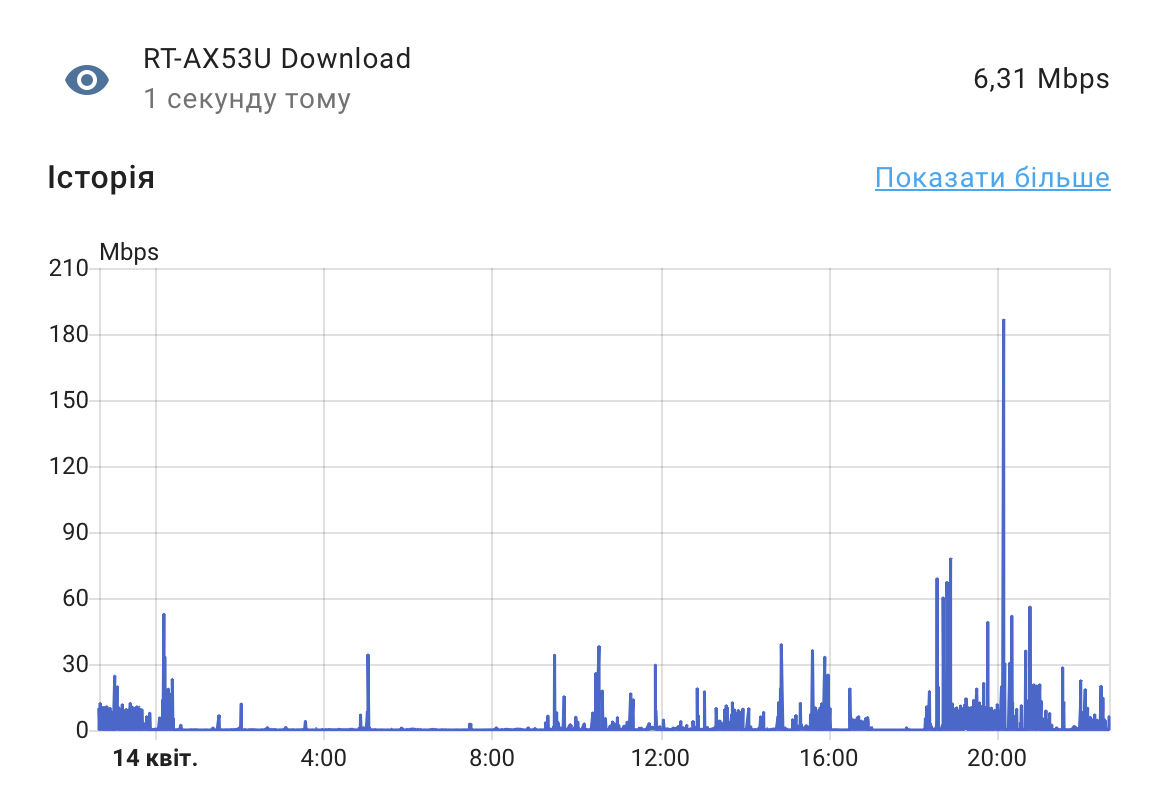
- Download and upload speed
- Memory usage
- CPU utilization
The client publishes these metrics to an MQTT broker, making them accessible to Home Assistant via MQTT sensors. The setup is minimal and can be extended with additional system metrics or custom scripts.
Prerequisites
Before you begin, ensure you have:
- Go installed and your Go environment configured
- Access to your OpenWrt router via SSH
- An MQTT broker (e.g., Mosquitto) reachable by both the router and Home Assistant
- Home Assistant set up with MQTT integration
Set up your Go environment:
export GOPATH=$HOME/bin/go/
export PATH=$GOPATH/bin:$PATH
Building the MQTT Client
To compile the client for OpenWrt (MIPS architecture), run:
cd src/mqtt-client
GOOS=linux GOARCH=mipsle GOMIPS=softfloat go build -ldflags="-w -s" -o bin/mqtt-clnt
cd -
This command builds a statically linked binary for deployment to your router.
Configuration
Before running the client, set the required environment variables:
export MQTT_BROKER=127.0.0.1
export MQTT_PORT=1883
export MQTT_USER=mqtt-user
export MQTT_PASS=mqtt-pass
export MQTT_TOPIC="routers/my-wrt"
These values define how and where the client publishes its metrics.
Deployment to OpenWrt
Transfer the binary to your router using SSH:
cat src/mqtt-client/bin/mqtt-clnt | gzip | ssh <USER>@<HOST> 'zcat - > mqtt-clnt'
Place the binary in /root/ or another suitable location.
Auto-Start on Boot
To ensure the MQTT client starts automatically with your router, add this to /etc/rc.local:
sleep 20s # Allow time for network interfaces to initialize
source /root/mqtt.conf
(/root/mqtt-clnt) &
logger "MQTT client started"
Make sure your mqtt.conf file contains the environment variable definitions.
Home Assistant Integration
To have Home Assistant pick up the metrics, define MQTT sensors in your configuration.yaml:
mqtt:
  sensor:
  - name: "MyWrt Download"
    state_topic: "routers/my-wrt"
    value_template: ""
    unit_of_measurement: Mbps
  - name: "MyWrt Upload"
    state_topic: "routers/my-wrt"
    value_template: ""
    unit_of_measurement: Mbps
  - name: "MyWrt CPU"
    state_topic: "routers/my-wrt"
    value_template: ""
    unit_of_measurement: '%'
  - name: "MyWrt Memory"
    state_topic: "routers/my-wrt"
    value_template: ""
    unit_of_measurement: '%'
After restarting Home Assistant or reloading YAML configuration, you should see your router’s metrics in your dashboard.
Final Thoughts
This setup is ideal for smart home enthusiasts who want deeper visibility into their network health. The MQTT client is simple, flexible, and efficient — and can be enhanced further to support additional OpenWrt statistics or other devices in your network.
Whether you’re a tinkerer or a professional building out your smart environment, this solution adds a robust layer of observability to your home setup.